Getting Started
You can download the starter templates for RedCorners.Forms via the Visual Studio Marketplace for free!
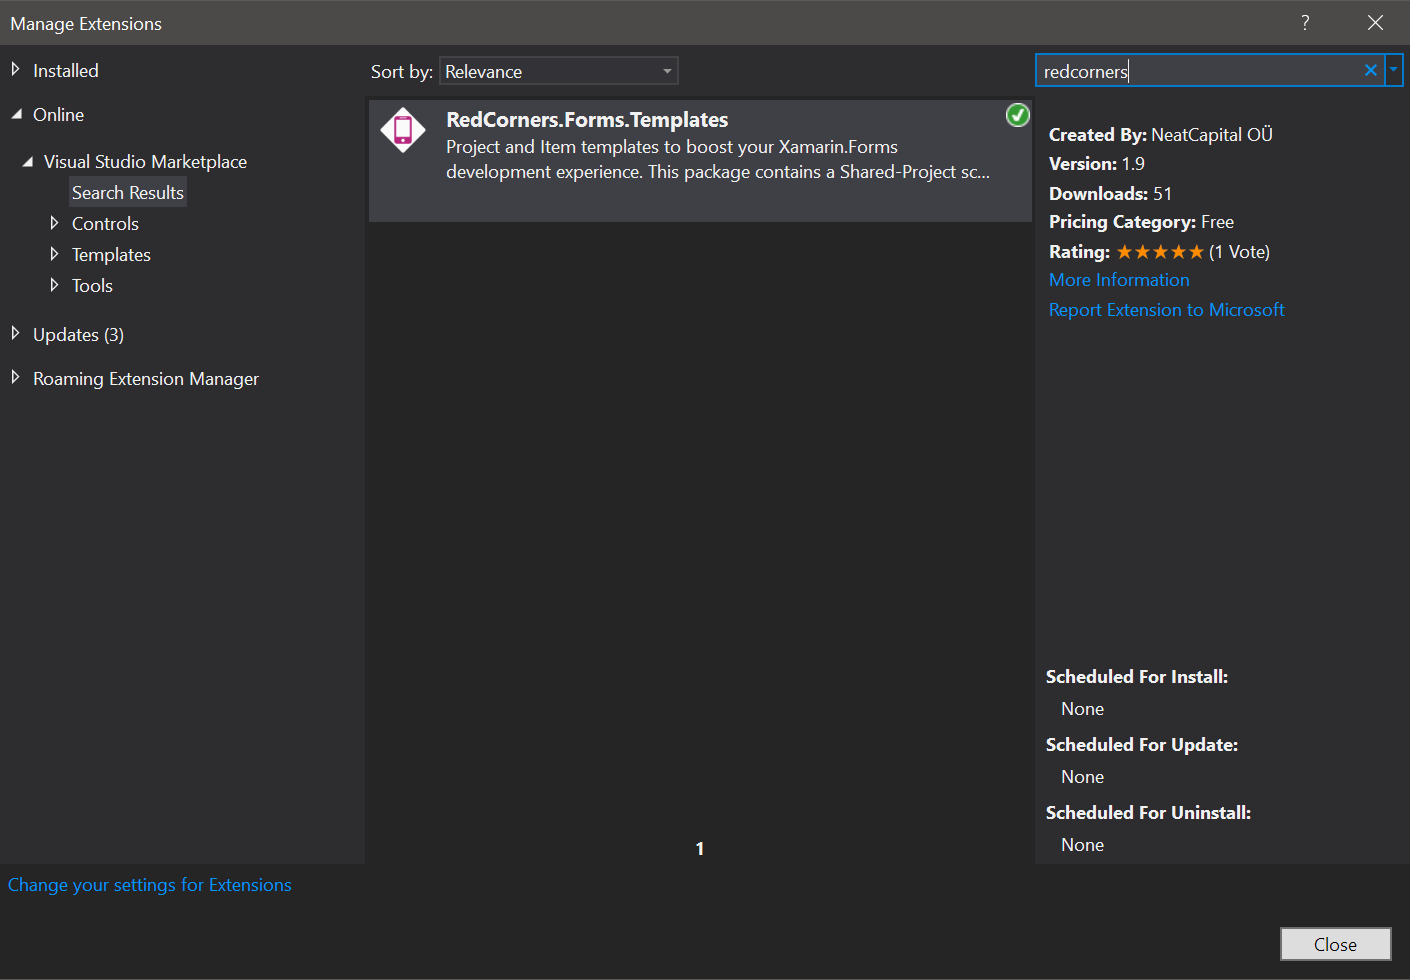
Alternatively, you can install the extension using the Manage Extensions dialog of Visual Studio. Search for RedCorners within the Online section of the Manage Extensions dialog, and install the RedCorners.Forms.Templates extension.
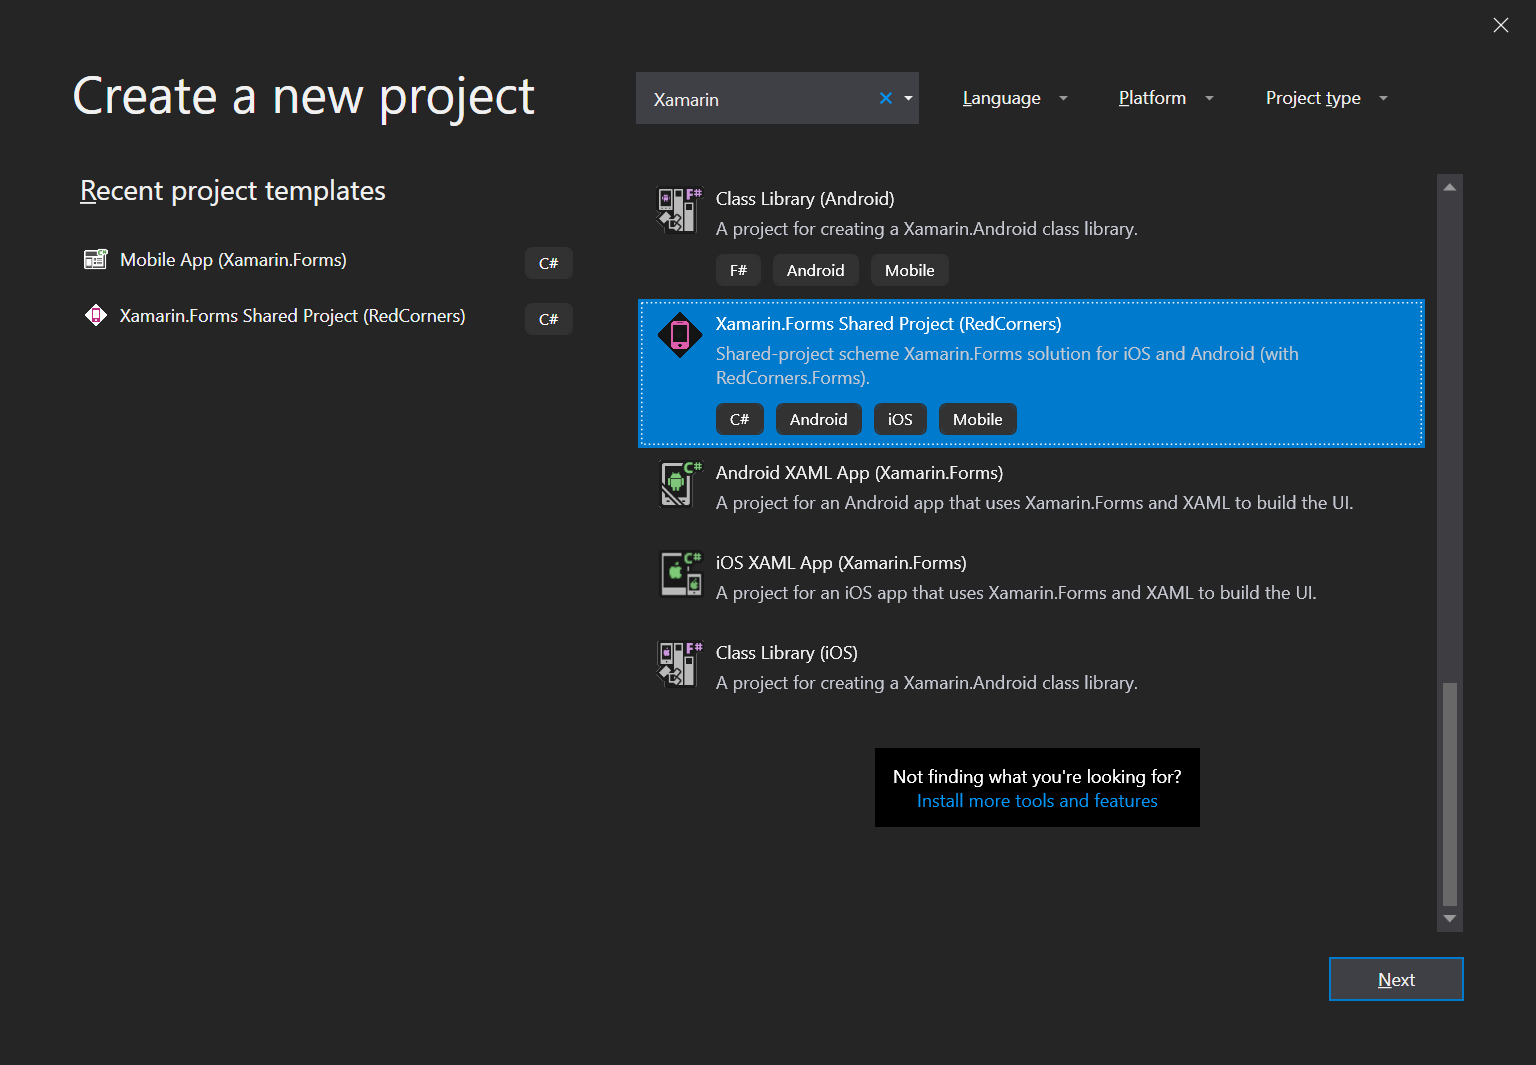
Once you have the extension successfully installed, you can start a new cross-platform Xamarin project by using the Xamarin.Forms Shared Projects (RedCorners) template:
This template gives you two platform projects for iOS and Android, and one shared project containing the shared code of your application:
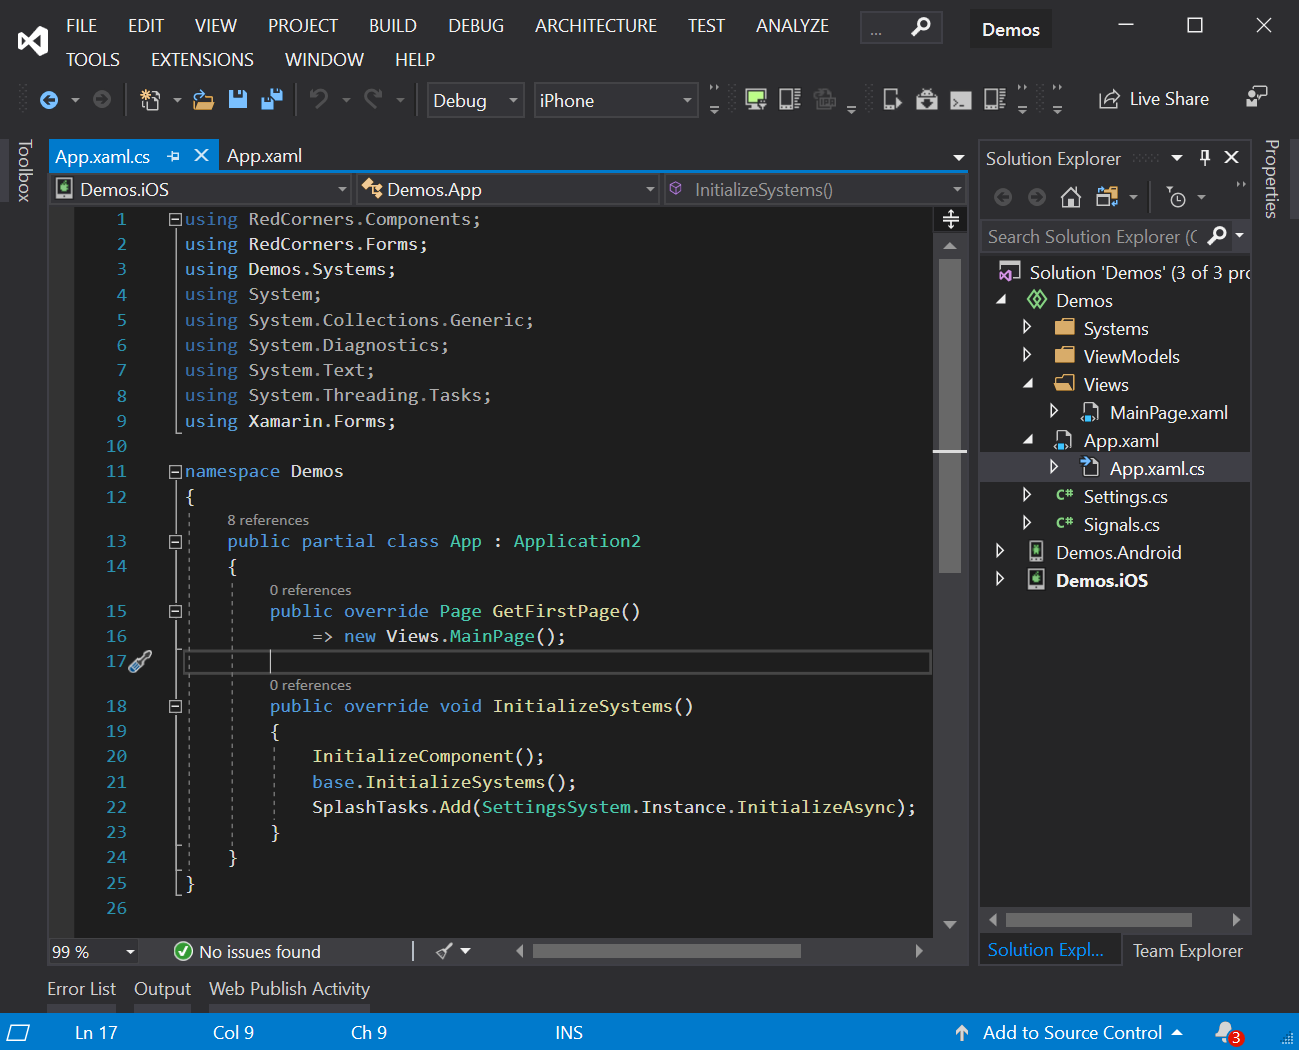
The App.xaml.cs is the entry point of your Xamarin.Forms application. It uses the Application2 base class, which is a cleaned up and more powerful version of Xamarin.Forms.Application, exposing a GetFirstPage overridable method that points to the first page you’d want to show when you run the application. By default it points to Views\MainPage.xaml.
This template also provides a built-in system to manage local settings through the Settings data structure. In order to store a value in the settings, simply add a property to the Settings data structure:
public partial class Settings
{
    // Store global settings here.

    public int Count { get; set; }
}
You can access the Settings singleton anywhere within your app via the Settings.Instance static property, and get or set any of its values. To save the changes, simply send a SaveSettings signal:
using RedCorners.Forms;
using RedCorners.Models;

public void IncreaseCount()
{
    Settings.Instance.Count++;
    Signals.SaveSettings.Signal();
}
The template automatically creates the ViewModels and Views folder for you. It is advised that you put your view models in the ViewModels folder, and views and pages in the Views folder.
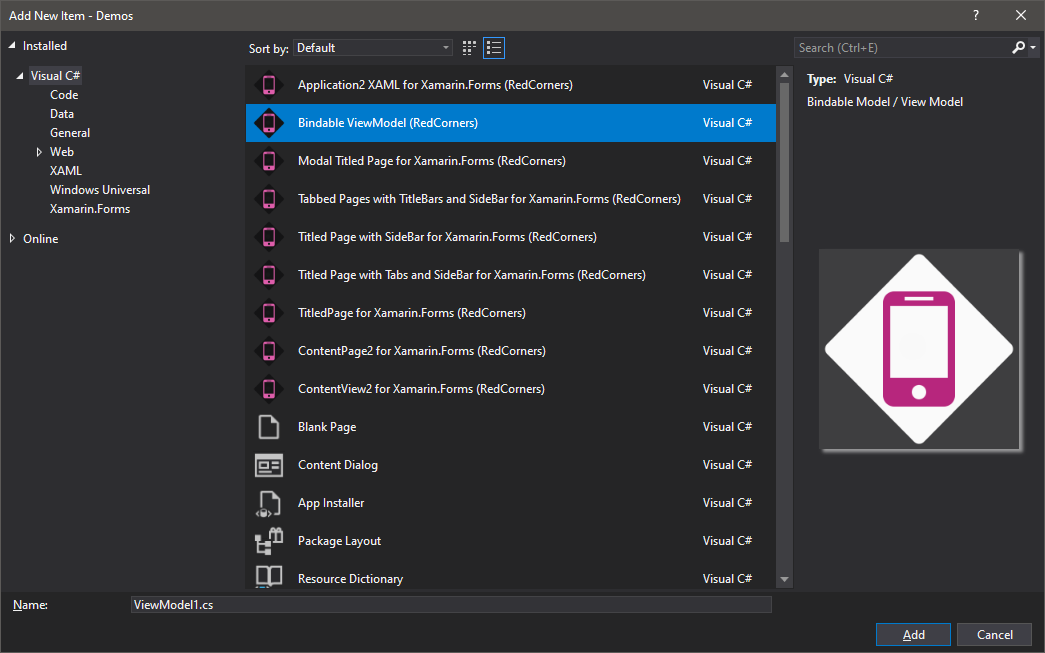
To create a new view model, page or view, you can use the numerous starting templates RedCorners.Forms offers:
Modifying an Existing Project
If you have an existing Xamarin.Forms project and you would want to benefit from RedCorners.Forms, you can easily do that.
RedCorners.Forms works best with Shared Projects. This is an intentional design decision to push for increased support for Shared Projects. While you can use a lot of the features of RedCorners.Forms on .NET Standard projects, certain platform dependant features such as the NotchSystem and FixPaddings as well as anything based on a custom renderer will not work as expected if used in a .NET Standard project.
Assuming you are using a Shared Project style solution, install the following NuGets on both your iOS and Android target projects:
Modify your App.xaml and App.xaml.cs files to derive from Application2, and move your initialization code to the InitializeSystems method. Override the GetFirstPage method to make it show your main page:
using RedCorners.Forms;
using Demos.Systems;
using Xamarin.Forms;

namespace Demos
{
    public partial class App : Application2
    {
        public override Page GetFirstPage()
            => new Views.MainPage();

        public override void InitializeSystems()
        {
            InitializeComponent();
            base.InitializeSystems();
            SplashTasks.Add(SettingsSystem.Instance.InitializeAsync);
        }
    }
}
<?xml version="1.0" encoding="utf-8" ?>
<rf:Application2
    xmlns="http://xamarin.com/schemas/2014/forms"
    xmlns:x="http://schemas.microsoft.com/winfx/2009/xaml"
    xmlns:rf="clr-namespace:RedCorners.Forms;assembly=RedCorners.Forms"
    x:Class="Demos.App">
    <Application.Resources>
        <ResourceDictionary>
            <!-- Define Styles here -->
        </ResourceDictionary>
    </Application.Resources>
</rf:Application2>